Pluginic
Topics :
How to Design Page Headings with FancyPost?
Updated:In This Article :
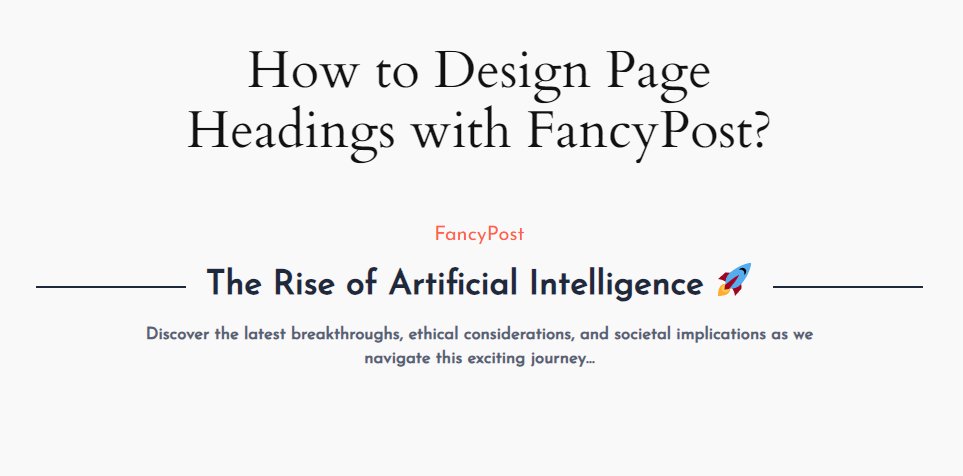
The "Heading" is an excellent feature of the FancyPost plugin. You can present any page's heading beautifully through this feature. By using its customization options, you will experience something new. It's very easy to use and customize for any block.
Here is a guide on how to customize your heading:
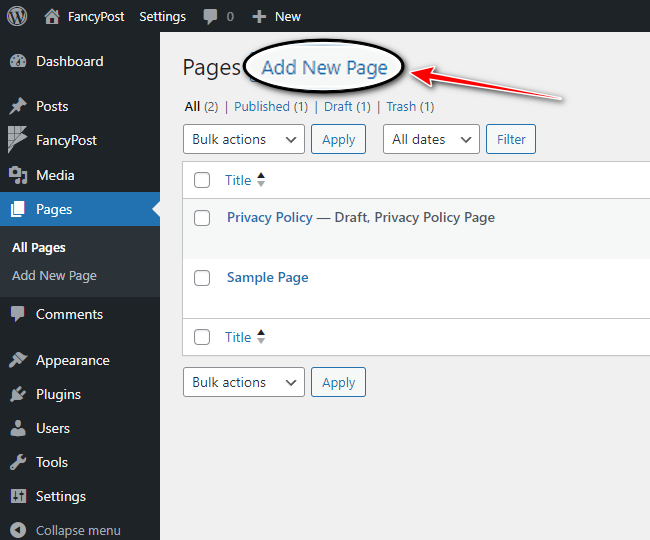
Step 1: Access your WordPress dashboard and navigate to "Add New Page."
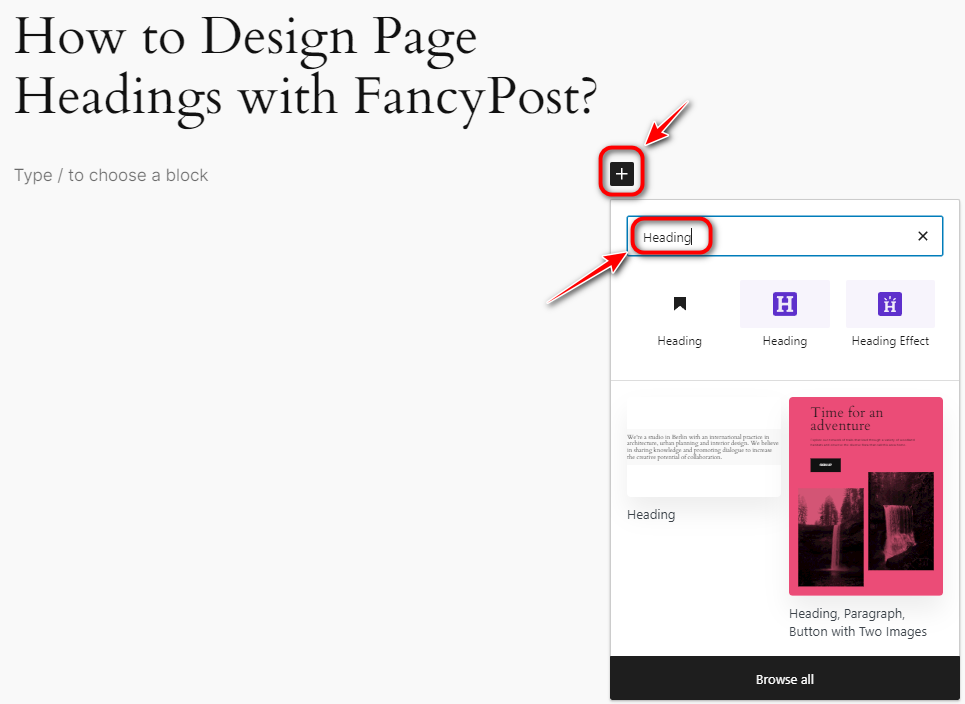
Step 2: Click on the '+' icon on the right side of the screen, enter "Heading" in the search box, and press the search icon.
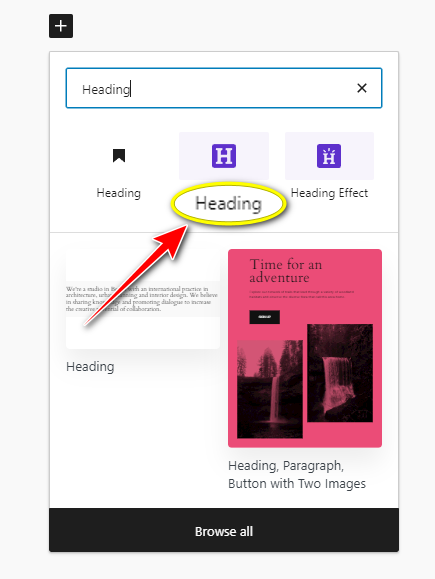
Step 3: This time, we'll discuss how the "Heading" works, so click on "Heading" from all the blocks.
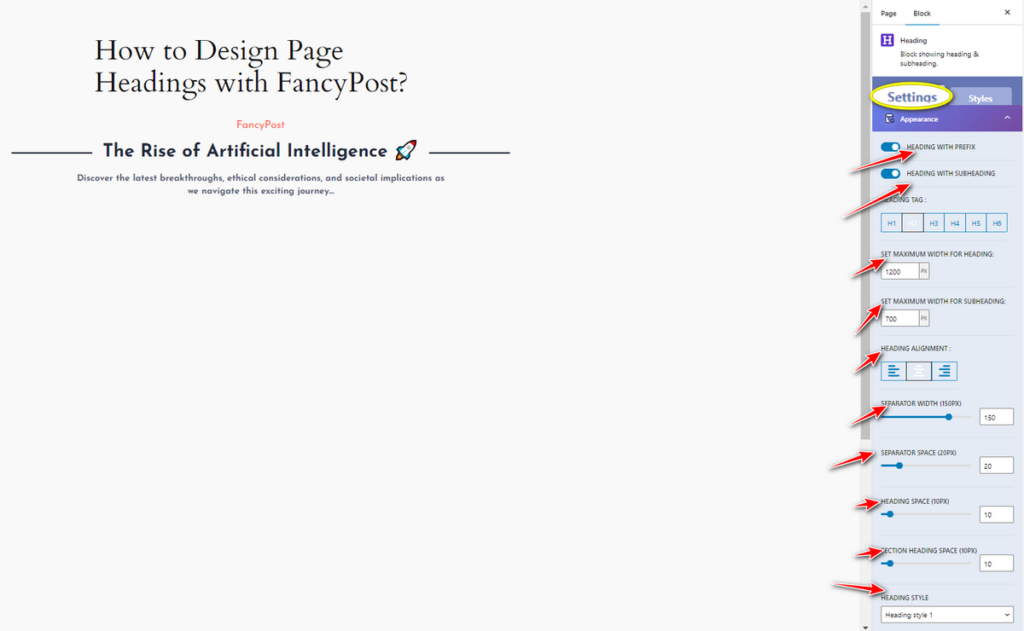
Step 4: "Heading" is a wonderful feature, with two options on the right side. From the settings, you can easily change options like "MAXIMUM WIDTH FOR HEADING", "MAXIMUM WIDTH FOR SUBHEADING", "HEADING ALIGNMENT", "SEPARATOR WIDTH", "SEPARATOR SPACE", "HEADING SPACE", "SECTION HEADING SPACE", and "HEADING STYLE". Additionally, you can also change "Heading Prefix", "Heading Typography", and "Subheading Typography".
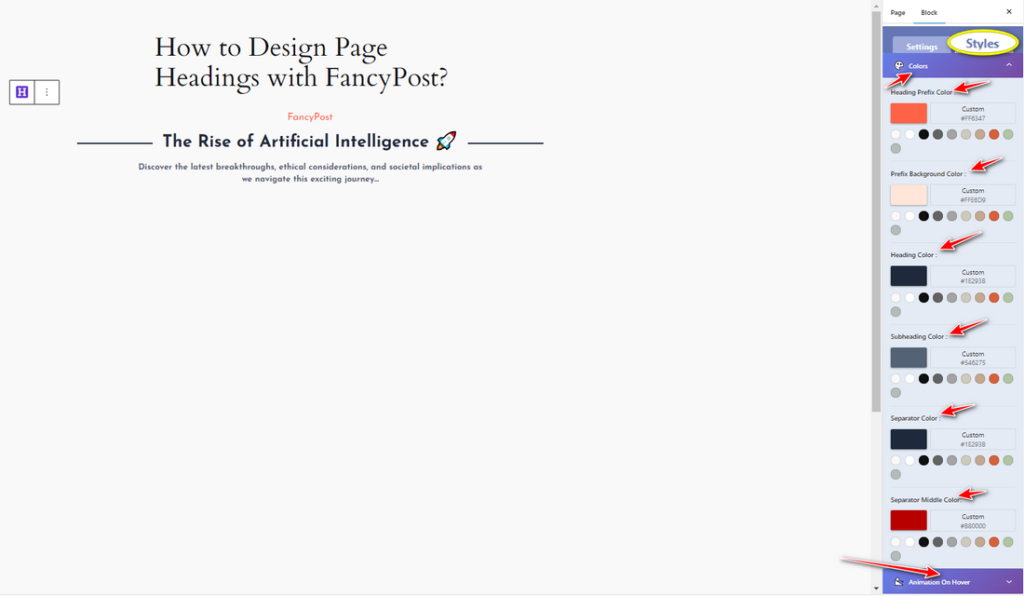
Step 5: Next, select another option on the right side, "Style". Through the Color option, you can adjust "Heading Prefix Color", "Prefix Background Color", "Heading Color", "Subheading Color", "Separator Color", and "Separator Middle Color". There is also an "Animation On Hover" option which provides four hover options for text hover animation.
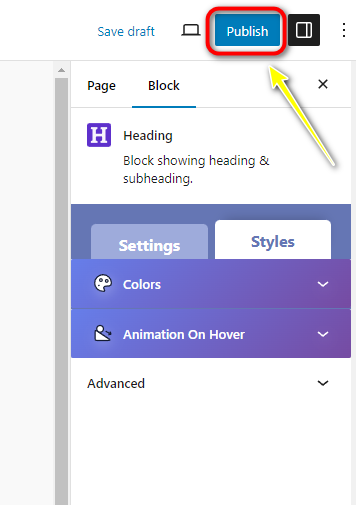
Step 6: Finally, once you have finished editing your "Heading", click the "Publish" button to complete it.
Using the "Heading" feature in the FancyPost Plugin simplifies the process of making your website more visually appealing and engaging.
