Pluginic
Topics :
Unlock powerful features to grow our business!
Get The PRO 🚀Optimizing Your Blog with the Post List in the FancyPost Plugin
Updated:In This Article :
With Fancypost Plugin, You can build your own professional blog, magazine, recipe, travel, fashion, portfolio blog or whatever you want. No coding skills are required! Work with any themes.
The Post List feature in the FancyPost Plugin lets you show posts from any website in a list format easily. You can customize how the posts look and arrange them to fit your preferences. This feature is very user-friendly and doesn't need any coding or special skills, making it perfect for beginners.
Using the Post List feature helps make your website look more attractive and organized. It improves the overall user experience, making it easier for visitors to find and read your content. This can lead to higher user engagement as people find what they are looking for quickly.
In short, the Post List feature in the FancyPost Plugin is a great tool for displaying your content in a neat and appealing way. It's easy to use and helps make your website more engaging and enjoyable for visitors.
User Guide for the FancyPost Plugin: Simplifying Post Lists
Step 01: Add a New Page
Navigate to your WordPress dashboard and click on "Add New Page."
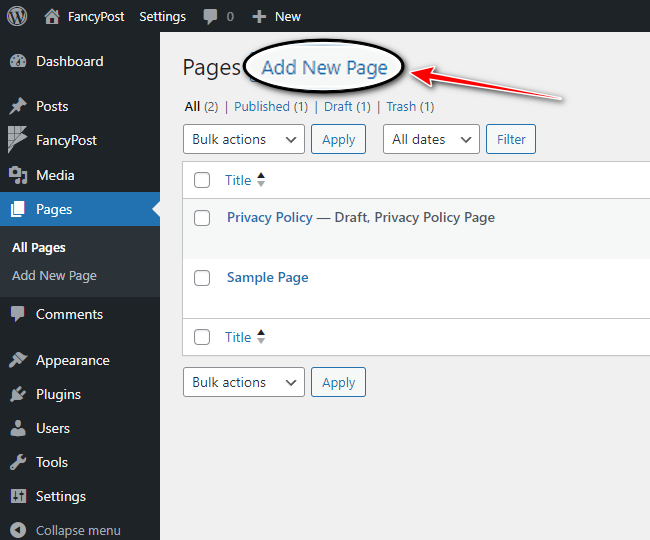
Step 02: Search for Post List
Click the '+' icon on the right side, type "Post List" in the search box, and click the search icon.
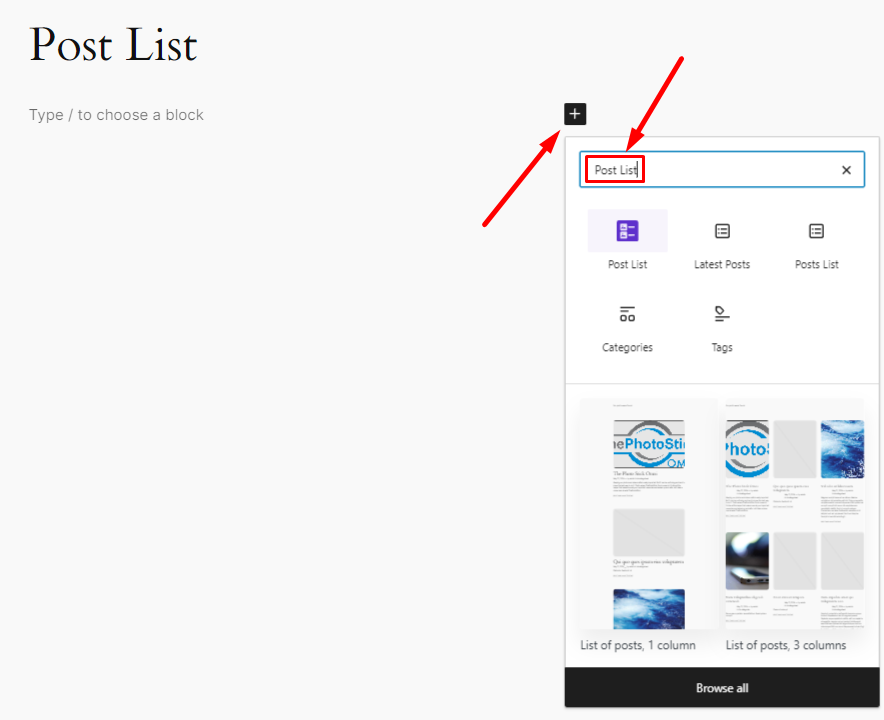
Step 03: Select the Post List Block
Click on the "Post List" block to begin setting up the feature.

Step 04: View Published Posts
Once you select the Post List block, you will see the published posts displayed in a list layout on your page.
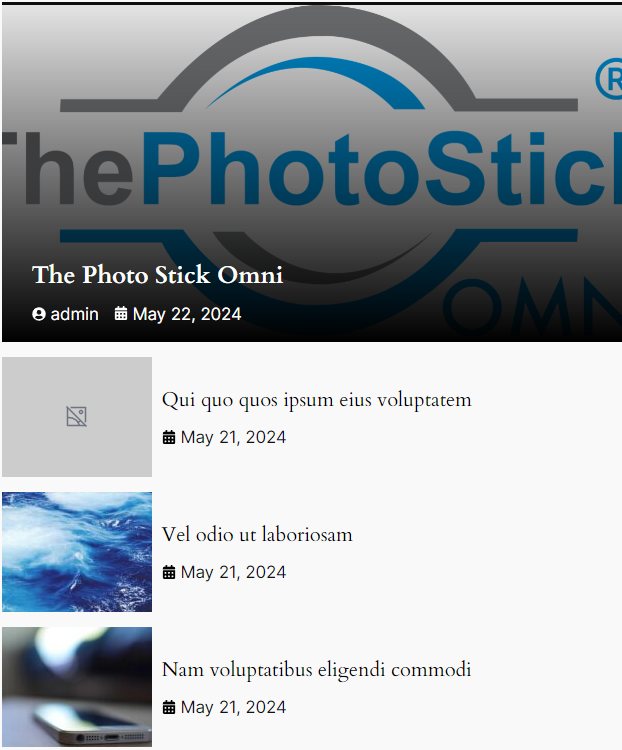
Step 05: Customize Post Settings
Adjust your website's posts using the Post List settings, specifically the QUERY SETTING and Appearance SETTING.
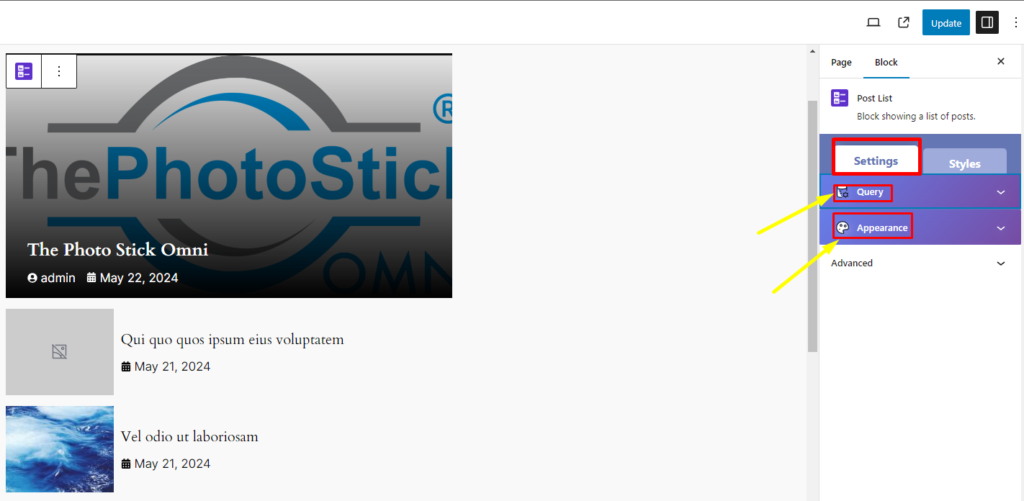
Step 06: Organize with QUERY SETTING
In QUERY SETTING, organize your published posts with options such as "POST TYPE LIST," "CATEGORY LIST," "POSTS PER COLUMN," "POSTS PER PAGE," and "TOTAL POST." You can also hide or show posts using the "HIDE CURRENT POST" option.
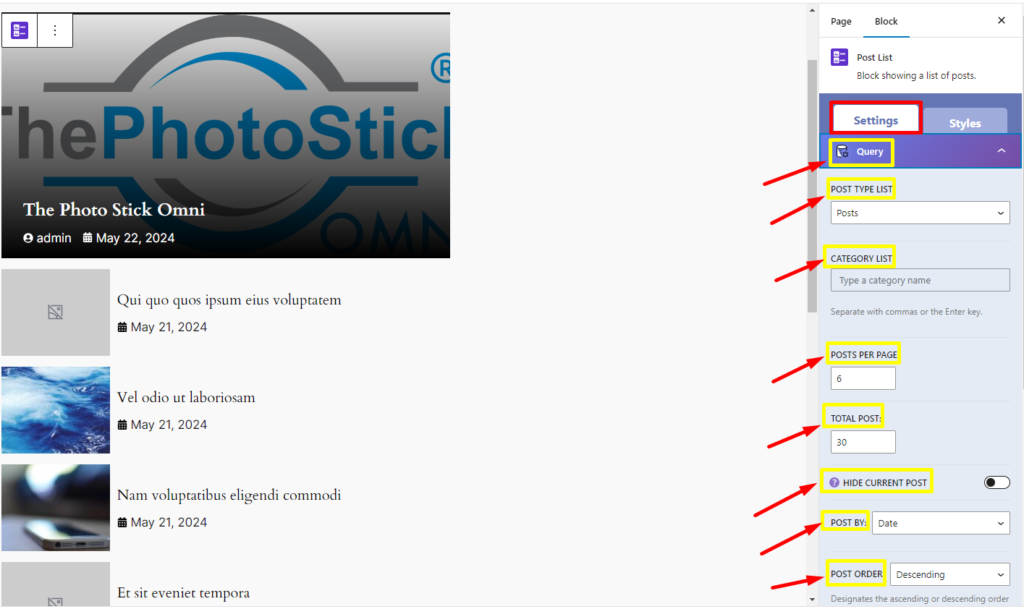
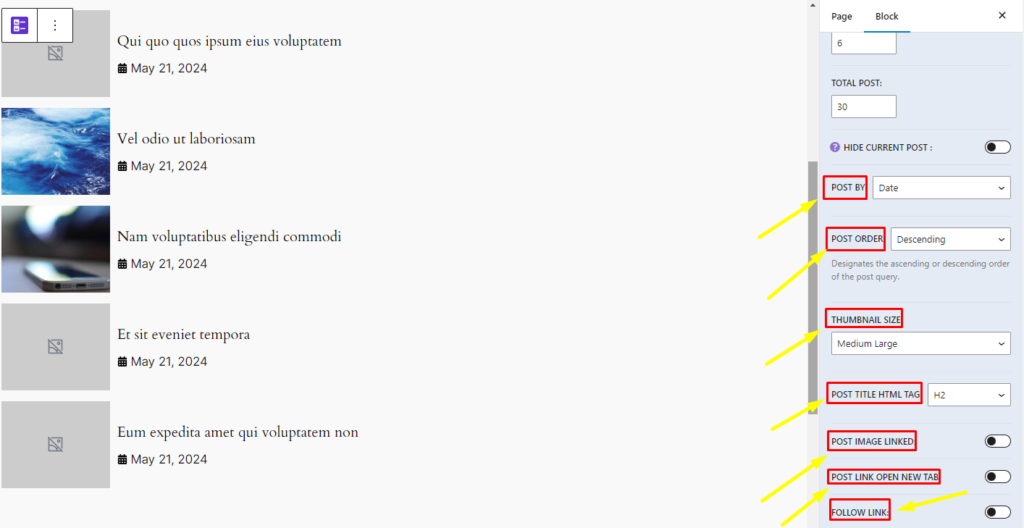
Additional settings include "POST BY," "POST ORDER," "THUMBNAIL SIZE," "POST TITLE HTML TAG," "READ MORE BUTTON TEXT," "POST IMAGE LINKED," "LINKED COMPLETE BOX," "POST LINK OPEN NEW TAB," and "FOLLOW LINK."
Step 07: Customize Appearance SETTING
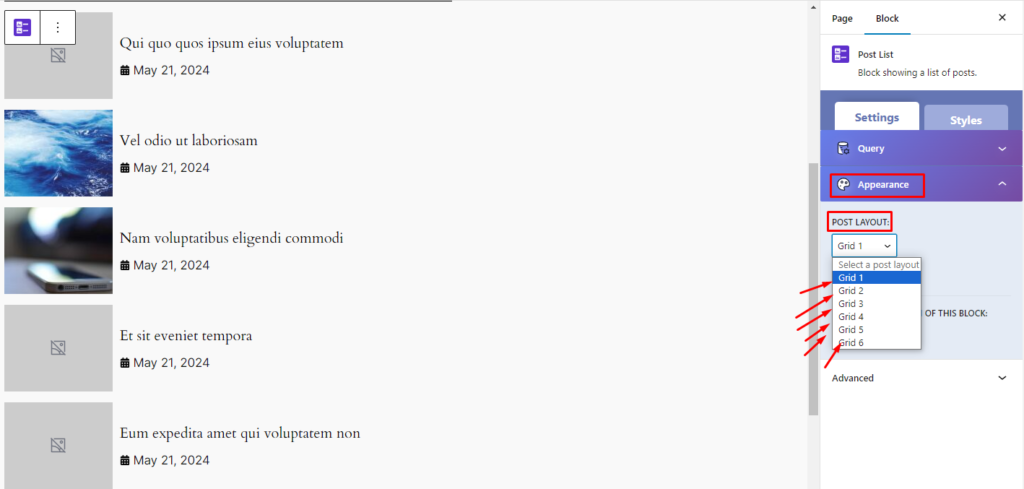
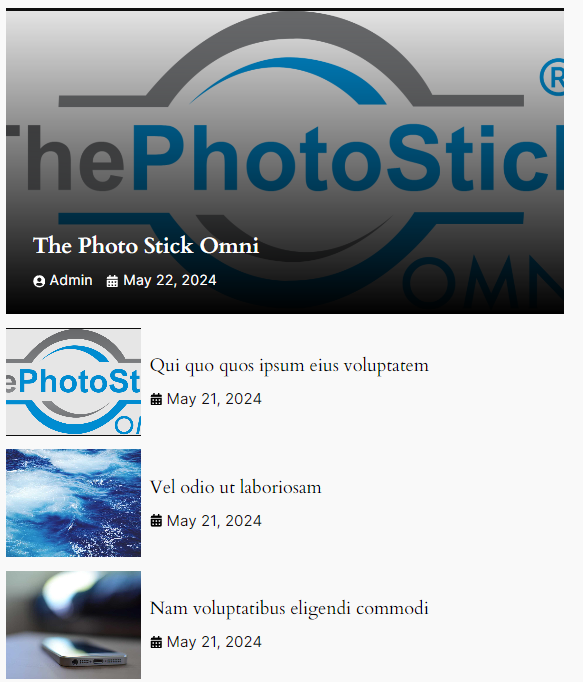
The POST LAYOUT in Appearance SETTING offers 06 different layouts, each unique, to beautifully arrange your posts.
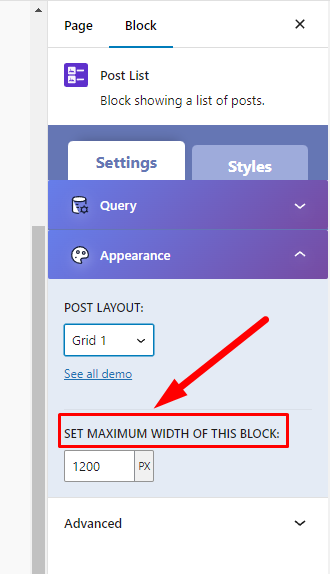
Additionally, use the "SET MAXIMUM WIDTH OF THIS BLOCK" option to set the maximum width for your website.
Step 09: Enhance Your Posts
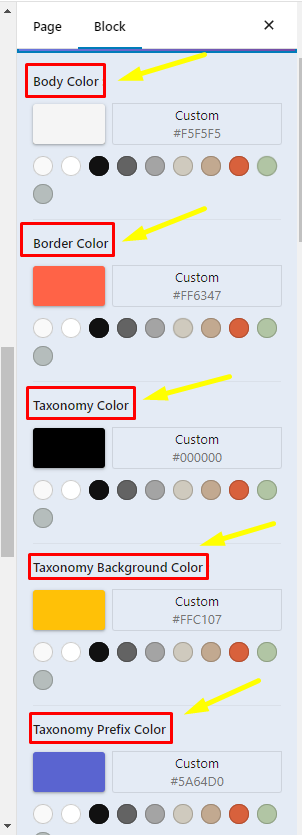
To make your posts more engaging, use the Style settings on the right side, which include options for changing Colors on your posts.

Step 10: Style Your Posts
In the Style section, you can customize the Colors of your posts with options like "Body Color," "Border Color," and "Taxonomy Color." These user-friendly options make it easy for even beginners to customize posts on any website.
Step 11: Update Your Post List
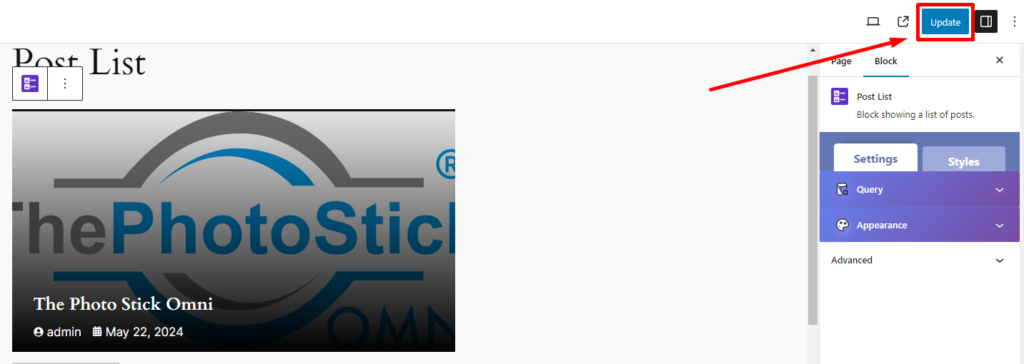
After finishing the customization of your "Post List," click the "Update" button to make your changes live.
By utilizing the hybrid layouts, users can enhance the visual appeal of their post blocks, creating engaging and captivating layouts for their audience.
Need Custom Solutions?
We bring you the most affordable WordPress development and customization services, provided by our expert developers to craft your site.

