Pluginic
Topics :
Pricing Table
Updated:In This Article :
Creating a beautiful and functional website on WordPress is easier than you think, especially when you're looking to add a Pricing Table. Here's a step-by-step guide to help you navigate through the process smoothly:
Starting Off: Your first step is to access your WordPress site's dashboard. Once there, look for the option to "Add New Page." This is where your journey to enhance your website begins.

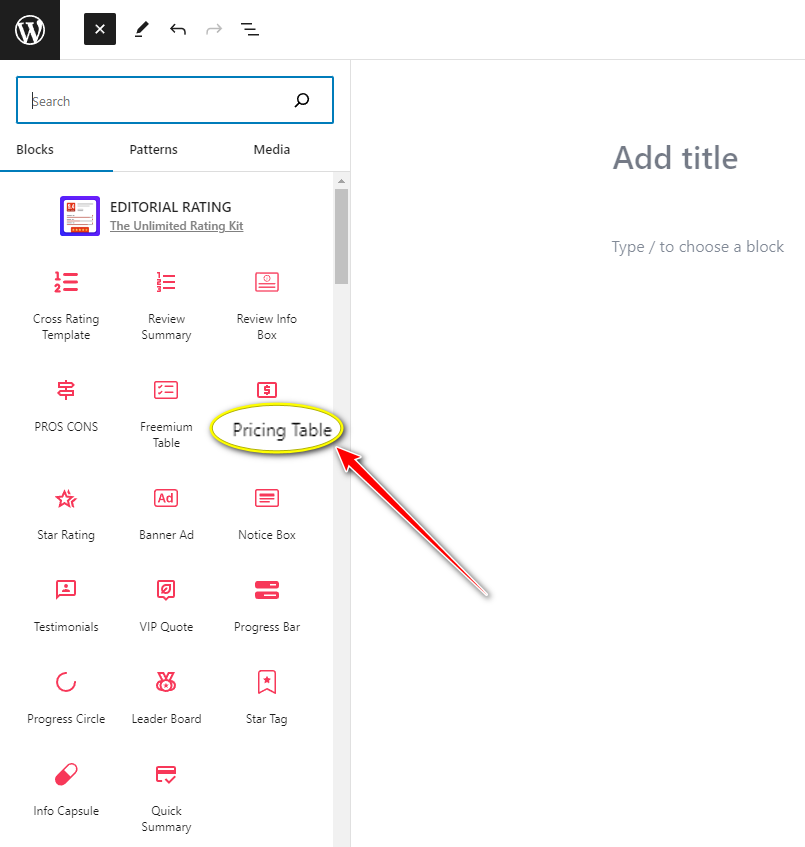
Adding Blocks: After creating a new page, you'll notice a "+" icon on the right side of your screen. Click on this to explore further. Choose "Browse All" to see the full range of blocks available under "Editorial Rating" on the left. These blocks are designed to make customization easy for you.

Selecting the Pricing Table: Within the "Editorial Rating" section, you'll find the "Pricing Table" block. This is what we'll be focusing on. Select it to proceed.

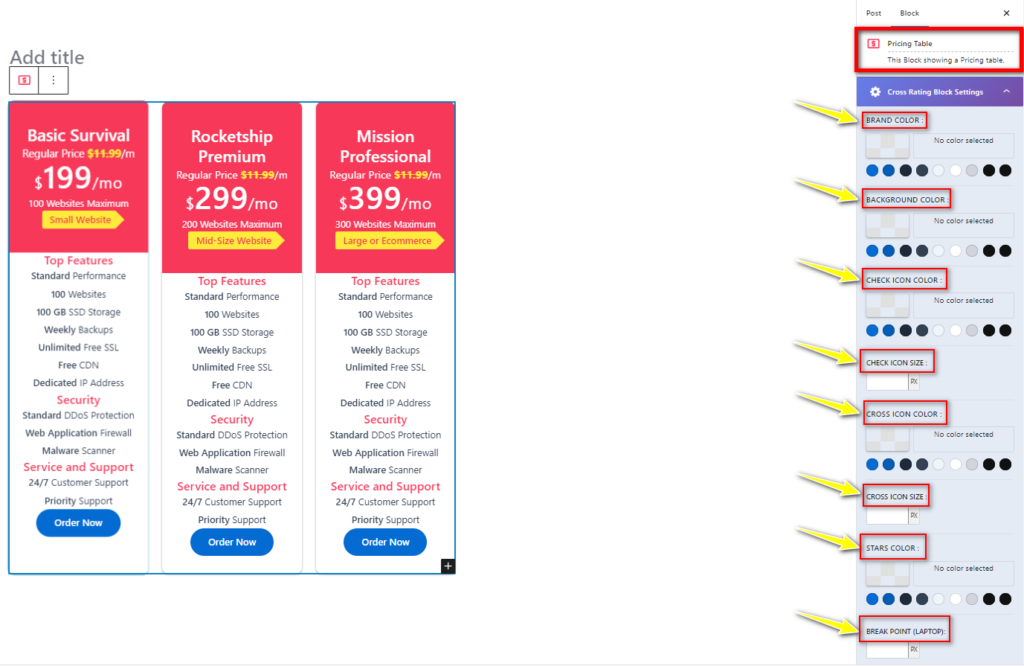
Customization Options: The Pricing Table block offers numerous customization options such as BRAND COLOR, BACKGROUND COLOR, CHECK ICON COLOR, CHECK ICON SIZE, CROSS ICON COLOR, CROSS ICON SIZE, STARS COLOR, and BREAK POINT. These are all located on the left side and can be adjusted with a single click, simplifying your customization process.

Editing Your Pricing Table: Now, it's time to make the Pricing Table your own. You can edit features, pricing, and content directly within the table. If you're offering products or services, utilize the "Order Now" button to add them to your table, enhancing your customers' experience.

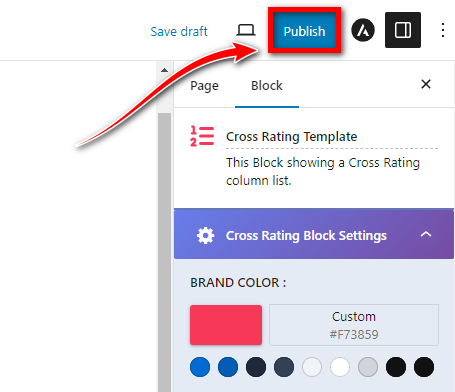
Publishing: Once you're satisfied with your Pricing Table, don't forget to hit the "Publish" button to make your changes live.

By following these steps, you can not only add an attractive Pricing Table to your website but also make it stand out. This feature under Editorial Rating is just one of many that can help beautify your site and attract more visitors.


